Initial Tests
Starting over, I suggested to the studio that we would make a Work in Progress slack channel that everyone could fire in ideas into without being regarded as final concepts/work. They really liked this idea, and it enabled the group to work more dynamically with the studio in getting the Nightclub environment along the right track. The studio also added Rachel, their lead environment artist, into the channel, which was really great as we were able to get feedback more in real time than before. She gave us really good advice about building the scene around a cinematic wide shot. I started doing quick tests, playing about with different perspectives.
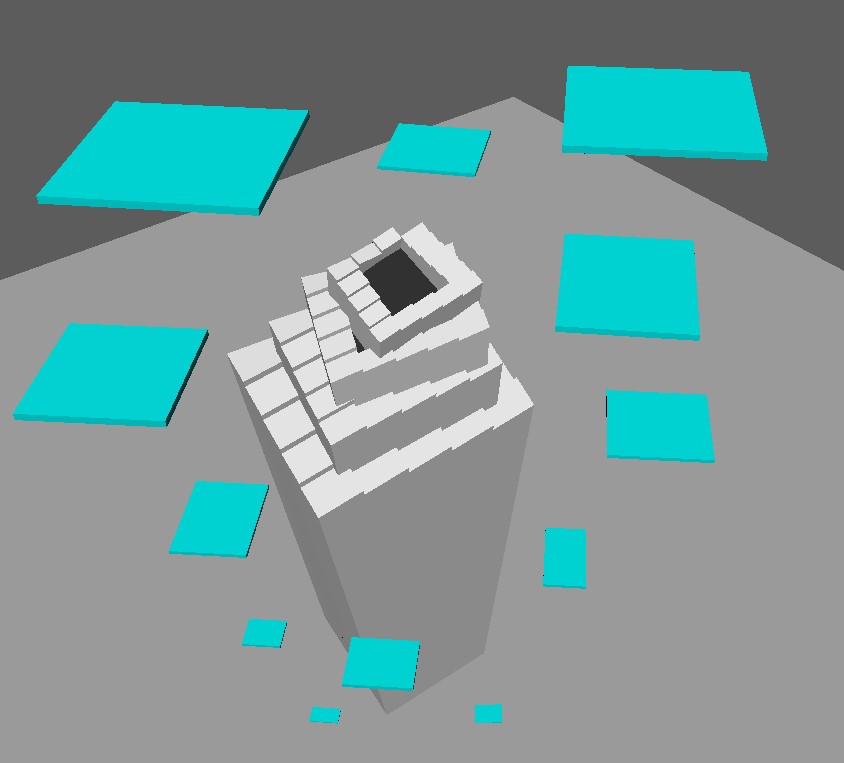
I also starting messing around with the Penrose staircase that we used in the previous layout to make it more dynamic and interesting. The studio preferred this staircase than the previous one, and Ryan was able to remodel and clean it up so the optical illusion would be kept when it was tilted at the right angle. Using my rough Penrose, I started playing about with adding floating squares to it, which later developed on to floating platforms in the scene.


First Layout Tests
I started adding the models that the group had made into the scene, and used Matthews stage rigging to help me point to where I wanted the perspective to be. I also decided to use Josh’s speaker’s on the floor as I felt they had the strongest silhouette, and repurposed a spiral booth that he had made as a chair idea into springs to give it an industrial feel. I added rectangles and squares onto the top of them, and could see that they would give another level of interest in the composition. I sent through these experiments to the Work in Progress channel, and Kevin encouraged me to de -clutter the scene and pull the camera back.
Ideation into new Layout
I stripped everything out of the scene and began with the Penrose in the center, and started to layer the speakers around that on Rachel’s advice. I made them smaller in the back and bigger in the front to help the forced perspective start to come through. I also started doing scale tests, and seeing how big I wanted the speakers to be in comparison to the Penrose. I also started adding a wee snowman on Kevin’s advice, so I could keep in mind the relation of size between the scene and the dancing characters.
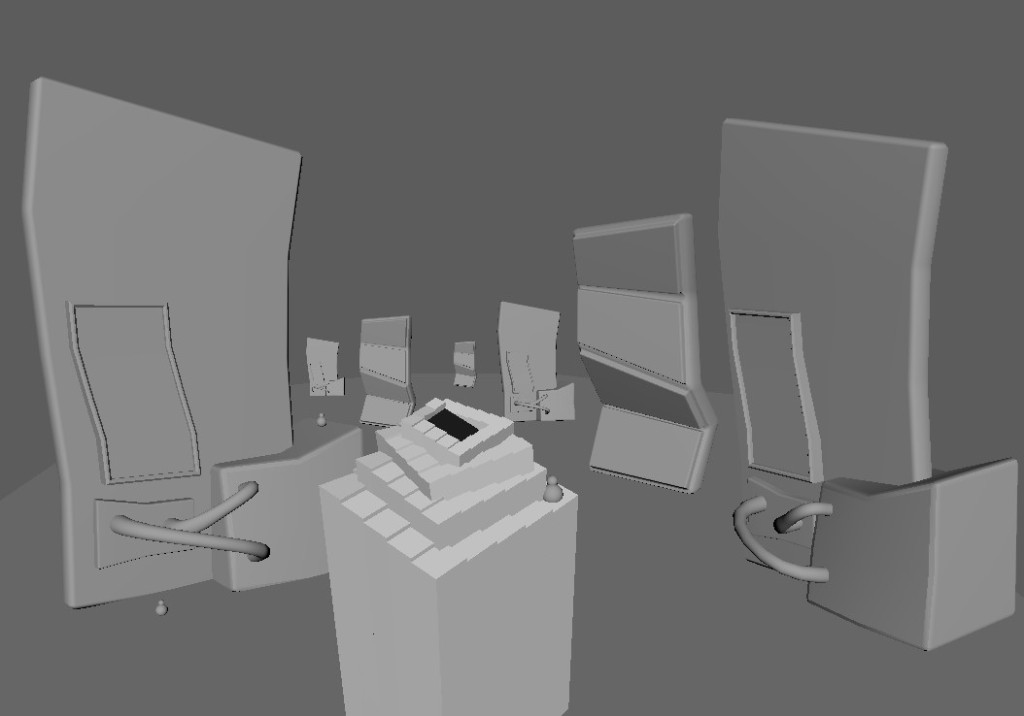

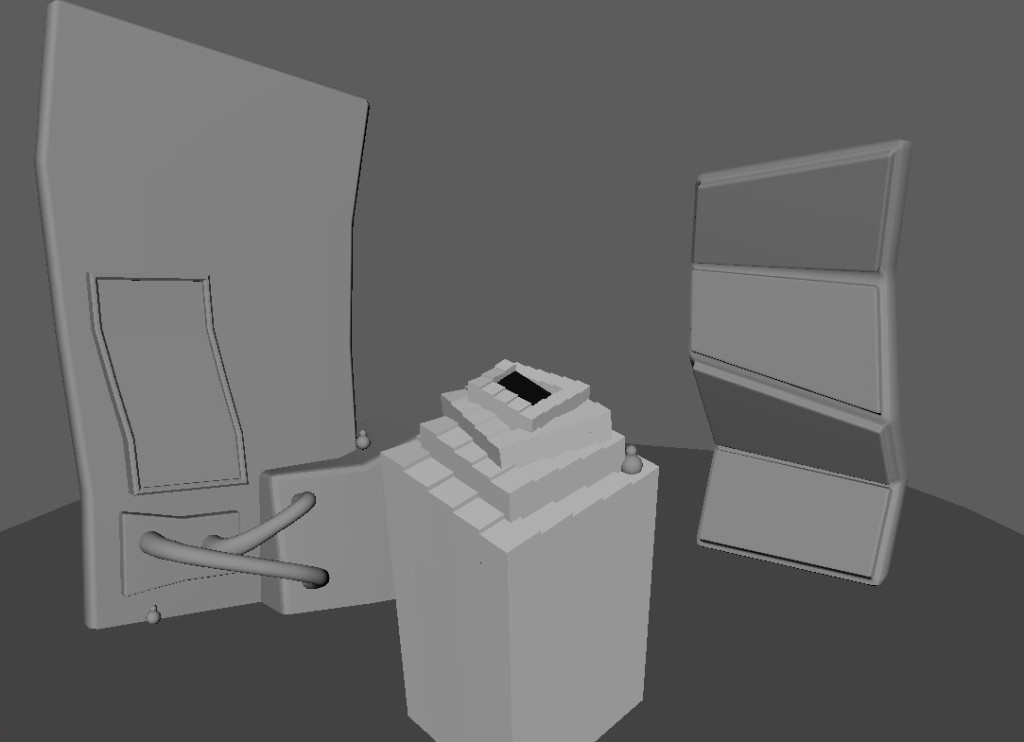

Starting to add speaker placement around the Penrose

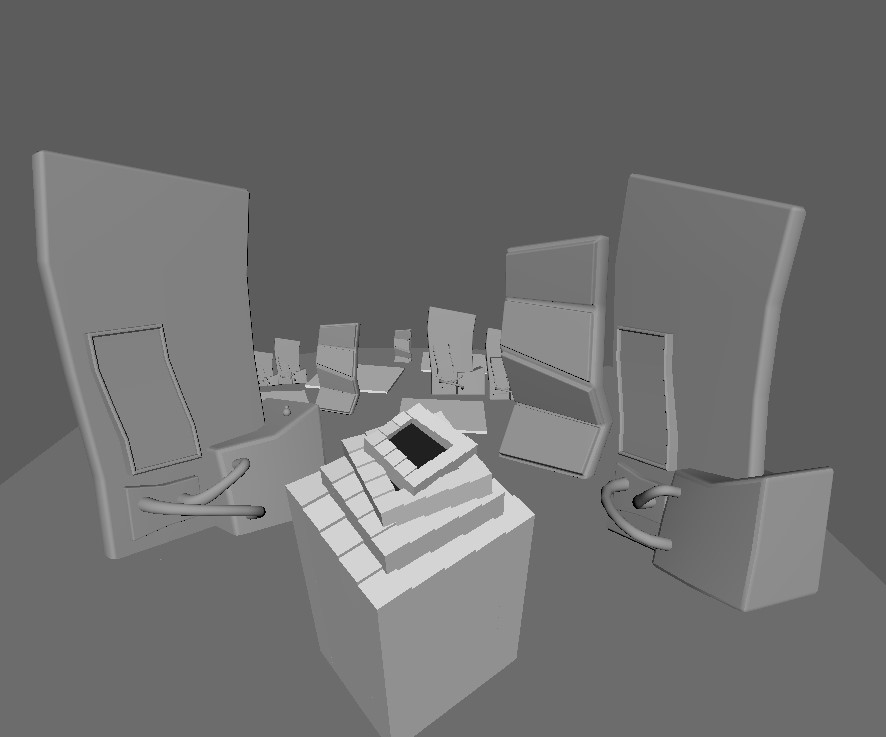
Rachel was able to send us through the elevator to help us frame our scene, and I used the platform that Matthew made in Blender to help get the camera height right. I then started to populate the scene with more speakers, and brought down the springboards to ground level.
Heading in the right direction
Hexagon Floor
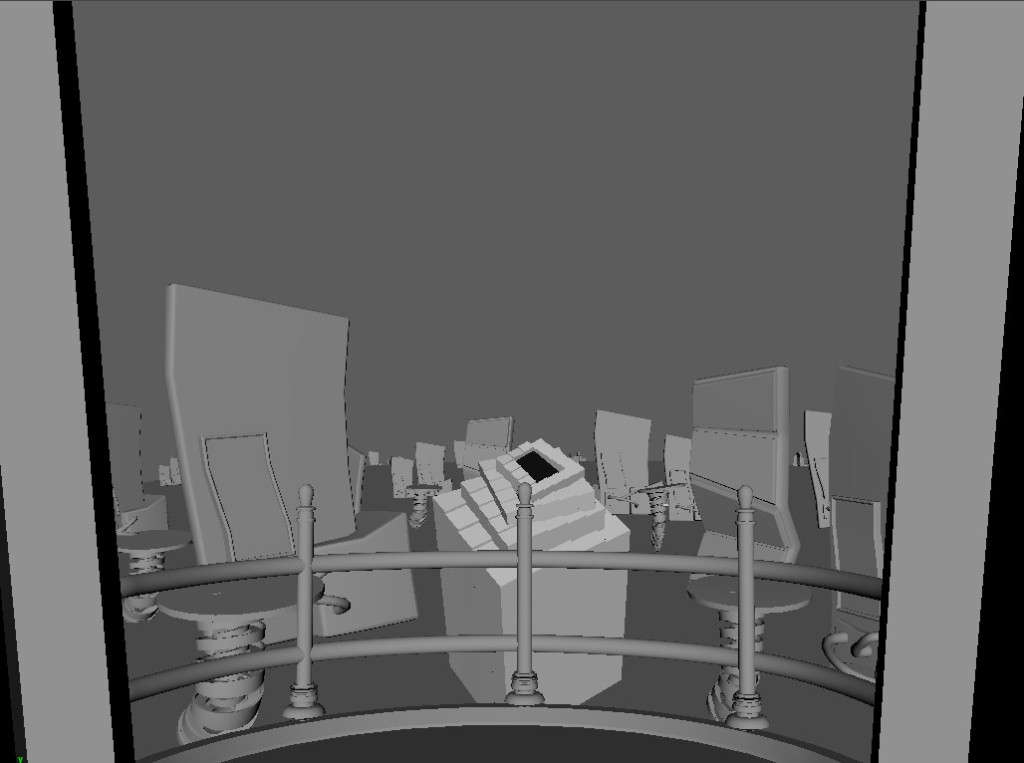
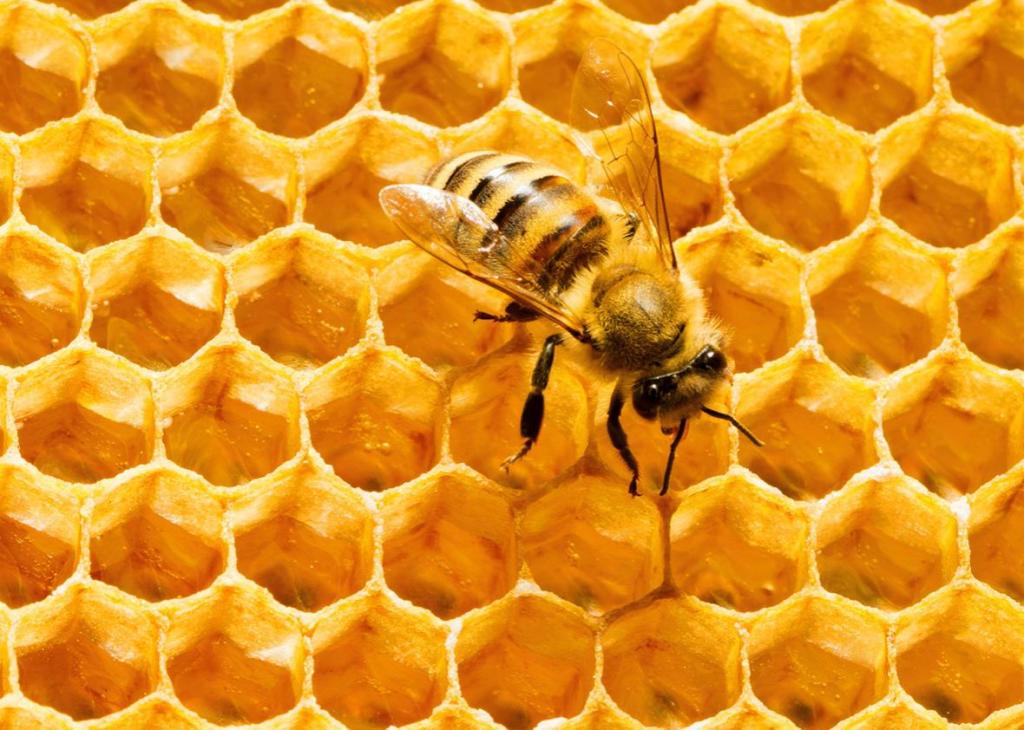
I began to look into how I could make the floor more interesting, and the mirrored room idea of Yayoi Kusama’s Infinity Rooms. Kevin had mentioned before about using geometry as a basis, and in one of the sketches he sent through he had laid things out along hexes. So I modeled irregular hexagon shapes and placed them under the floor speakers, having the spring boards poke out between the gaps.


I was able to then follow the pattern of the hexes and place the floor speakers along the edges, which helped create the individual dance floor areas that Kevin wanted to see. I then scaled up the rigging so it felt like the scene was house in an even bigger room, and added two more Penroses in the background.

The studio said that the images I sent through on Slack were a breakthrough and heading more in the direction that they originally wanted. They liked the irregularity of the hexes, and how the scene itself seemed to be floating in a void of space. They also liked the springboard idea, and the snowmen placed on them for references. Nonetheless, they gave feedback on how to push it further and open up the space more. The feedback was to:
- Remove rigging, it wasn’t needed
- Change Penrose so it didn’t have a hole
- Replace giant Penroses to large speakers caving in on the environment
- Fix the floor perspective so it rolls back into the horizon, and now upwards.
- Change platform into something more within the style of the game.
Feedback and changes
I tested the giant speakers in the background using ones that Michael had made, however the studio wanted them more simple with a thumping base circle, so I took one of the base meshes Michael sent through, deformed them using a lattice deformer so they would bend in and added placeholder circles were Ryan would come in and add animations. Josh fixed the rolling floor, and he and Michael worked on changing Matthew’s original platform.

File sharing issues
The studio had clearly stated the things that they would like changed/kept in the layout, and we decided as a team to follow the Daisy chain method and share the fixes between us, so that everyone could take credit for the final outcome. However, during the sharing of files there was issues were things would be changed too far and needed to be changed back, for example the irregular hexes that the studio liked were made completely even. The towering speakers were bent out of shape, and the scene had been re scaled differently and knocked off center due to fbx translations moving between Maya and Blender.
On reflection, I really don’t think this was a good choice of workflow for us, and not something that I would endeavor to use in the future when working on one master file between a large number of people. In hindsight I think it slowed us down more than helped speed up our workflow, however I’m glad we gave it a try.


After everyone had made the changes they were assigned to fix, I went back and re scaled the scene size down and brought it back to 0.0, and reset up the lighting. I also removed the added speakers that were placed on the floor, and fixed the large speakers back into the right shape. I also reset the camera back to its original position, and fixed the rotation of the floating platforms in the background.
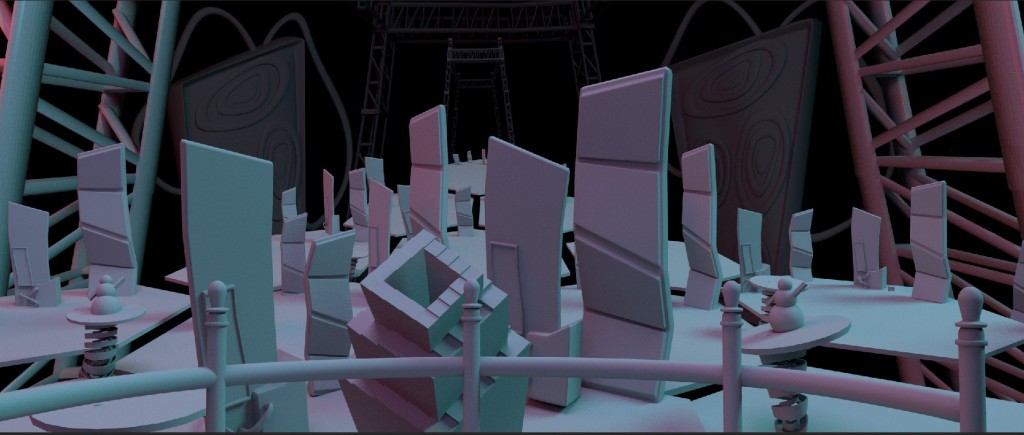
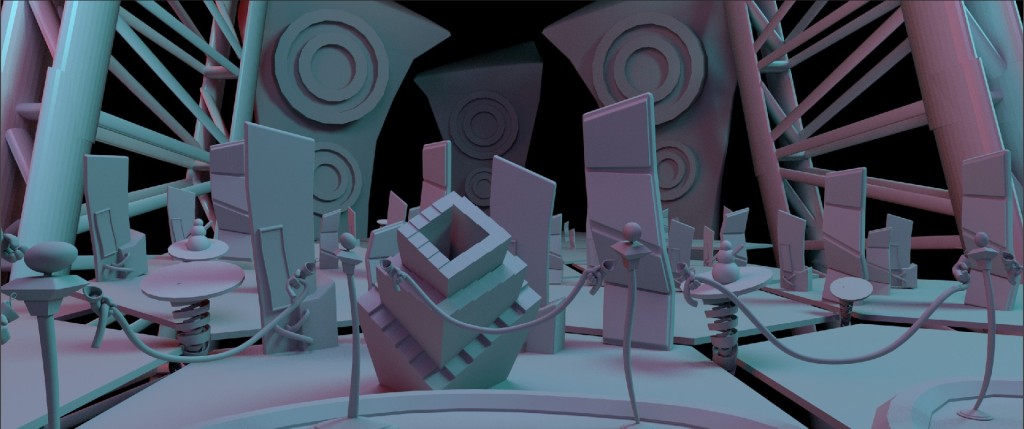
Final Iteration
Below is the final iteration of the layout that I sent through to the studio. Overall I’m not too happy with it, as I think there is still a lot of things I’d change, for example the rigging that was completely scaled down and deformed doesn’t look right within the scene. Unfortunately we had came to the end of our time with the studio, and most team members had moved on to different assignments that they had to complete. I still think we could have pushed ourselves to get out of the grey box phase and apply lighting and textures, however I plan to do this over the summer months. I think it’s definitely headed in the direction and style that the studio originally wanted, however there would still be a lot that would need to be done to make it game ready. I hope some day in the future I can come back to work on this and see it through to the end, as I think it would be a real achievement and satisfying seeing something through from the start to finish.

